Filipino
Bibingka
A warm Filipino rice cake cooked in banana leaves, with a tender coconut-scented crumb and smoky edges from the coals. It is finished with butter, salted egg, kesong puti, and freshly grated coconut.

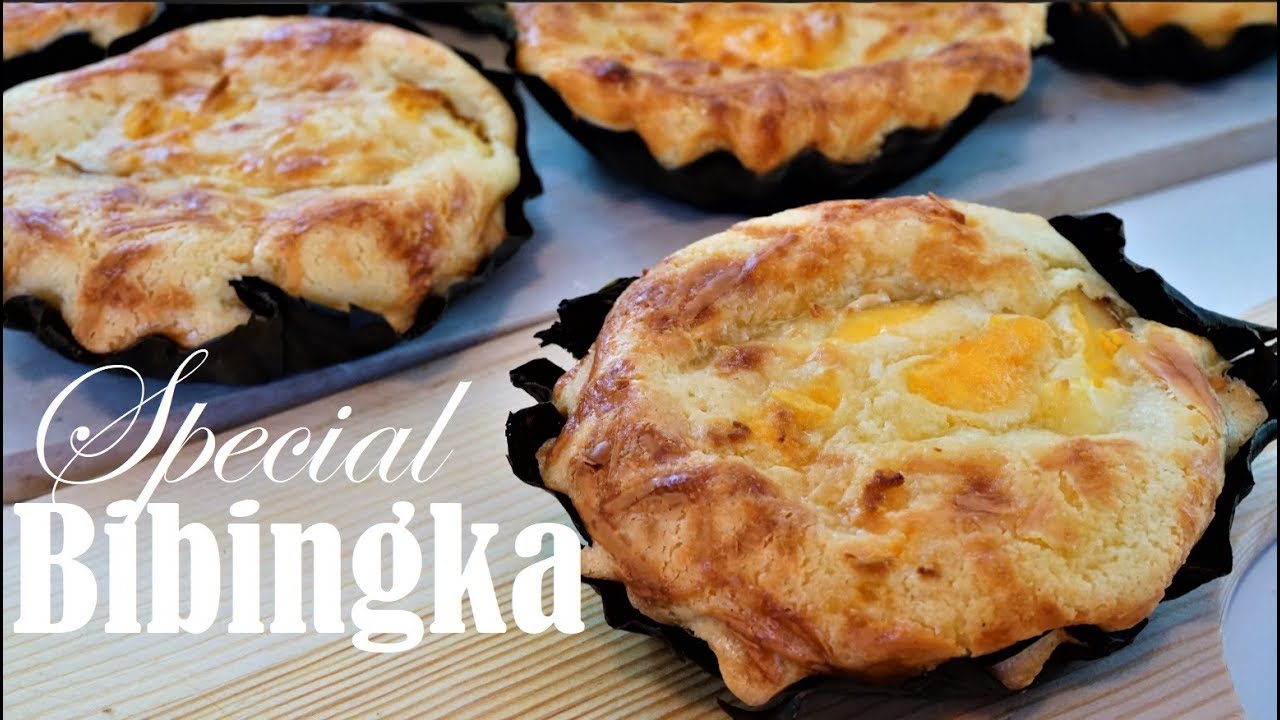 Watch it madeSavor Easy · 3:44
Ingredients
- Uncooked regular white rice1 cup
- Water for soakingas needed
- Thick coconut milk1/2 cup
- Large egg1
- Sugar2 tbsp
- Baking powder1 tsp
- Salt1/4 tsp
- Banana leaves2 pieces, about 8 inches each
- Salted duck egg1, sliced
- Kesong puti2 tbsp, crumbled
- Butter1 tbsp, softened
- Freshly grated coconut2 tbsp
- Sugar for serving1 tsp, optional
Method
- Rinse the rice until the water runs mostly clear, then soak it in fresh water for at least 8 hours or overnight.
- Drain the soaked rice well and grind or blend it with the coconut milk until it becomes a smooth, thick galapong batter.
- Strain the batter through a fine sieve if needed, then whisk in the egg, sugar, baking powder, and salt until evenly mixed.
- Pass the banana leaves briefly over an open flame until pliable and fragrant, then use them to line two small bibingka molds or clay pans.
- Prepare a charcoal bibingka cooker with live coals below and a metal lid that can hold hot coals on top.
- Pour the batter into the banana leaf-lined molds, filling each about two-thirds full.
- Set the molds over the lower heat, cover with the coal-topped lid, and cook for 6 minutes.
- Arrange salted duck egg slices and kesong puti on top of each bibingka, then cover again and cook for 8 to 12 minutes until the tops are set, lightly browned, and the edges are smoky and toasted.
- Brush the hot bibingka with softened butter as soon as it comes off the heat.
- Serve warm in the banana leaves with grated coconut and a little extra sugar if desired.
Common questions
Can I substitute regular rice if I don’t have galapong or a grinder that makes a smooth batter?
Yes. Soak the rice overnight, then blend with coconut milk in batches until very smooth. If it still feels gritty, strain it through a fine sieve. A smoother batter gives the best light, tender bibingka texture.
How long should I cook bibingka, and how do I know when it’s done?
After an initial 6 minutes, add the salted egg and kesong puti, then cook 8 to 12 minutes more. It’s done when the top is set, the edges look dry, and a toothpick comes out mostly clean.
What are the most common mistakes when making bibingka at home?
Not soaking the rice long enough, making a coarse batter, and using weak heat are the biggest issues. Also avoid overfilling the molds and skipping the banana leaf lining, which adds flavor and prevents sticking.
How should I store leftover bibingka, and can I reheat it?
Store cooled bibingka in an airtight container in the refrigerator for up to 2 days. Reheat in a covered pan over low heat or a toaster oven until warmed through. Add fresh butter and coconut after reheating for best texture.
What’s the best way to serve bibingka?
Serve it warm with a generous smear of butter, a sprinkle of sugar, and lots of freshly grated coconut. It’s best right after cooking, when the top is tender, the edges are lightly browned, and the toppings are still soft.